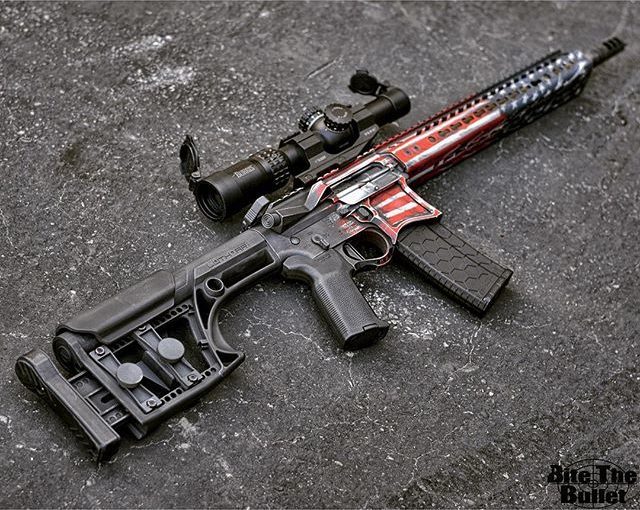
Painting Your AR15
Painting Your AR15
The AR-15 is a highly versatile and popular weapon that can be customized in many different ways. One of the more interesting ways you can individualize your AR-15 without compromising its performance is by adding a coat of paint or two to the parts that do not heat up when the gun is fired. The good news is that you can paint the AR-15 in any color you like to individualize the weapon from a single, solid color, creating camouflage, or making a distinctive pattern that sets your AR-15 apart from the rest.
Whether you choose to paint your weapon for purely aesthetic reasons or that you want to add a layer of camouflage for hunting purposes, it is important to select the right type of paint for your needs.
Camouflage
There are too many people who paint their AR-15 for the purposes of camouflage do so with only one type of environment in mind. This means that if the environment changes either seasonally or because of weather your AR-15 will stick out like a sore thumb. However, you can simply purchase cheap paint from Wal-Mart for example for a temporary solution depending on the season and environmental conditions where you plan to be. Rustoleum for example is just $4 – $5 per can which means for $20 you’ll have enough to make effective camouflage for what you need.
De-Greasing the Weapon
In addition, be sure to use a de-greaser first before painting your weapon in order for the paint to stick longer and without runs. Once the gun has the grease removed, simply use masking tape to prevent the paint from attaching to areas of the weapon that you want to remain clean. One trick is to paint the AR-15 with the accessories attached so that if you ever remove them, you’ll know by the big, black spot exactly where they will go back.
How to Paint Your AR-15
The first step after you have placed the masking tape is to apply a base coat that will allow the following coats of paint to stick in a proper fashion. Generally speaking, once the base coat is applied you’ll want to start with the lighter colors first and then apply the darker colors later for a more complete effect. Always keep the spray can moving and follow the instructions so that you can properly dry and then re-coat the paint. You can use handmade stencils, artificial or even local vegetation for your weapon.
Remember, the main goal of camouflage is to simply break up the outline of the AR-15 itself so that it becomes unrecognizable. Do not try for a perfect pattern, rather you should apply each layer in short sweeps for maximum efficiency. Keep repeating until you get the pattern you want and it provides the look that you need.
Also keep in mind that if your AR-15 does not have an ejection port cover or if you are painting another type of weapon such as a bolt bun, you may need to use more tape or just remove the bolt and use paper towels to keep the paint from getting inside the gun itself. Remember to keep it slow, steady, and simple when applying coats of paint to the AR-15.
