How to Replace AR-15 Pistol Grip
How to Replace AR-15 Pistol Grip
Choosing or replacing a pistol grip is often one of the primary considerations for shooting enthusiasts when it comes down to building their AR-15. It is also one of the very first aspects that new owners will upgrade on their rifle or pistol. Nevertheless, choosing the best or right AR-15 pistol grip for you and your firearm can often be a tricky or indecisive task. The initial and overall problem is that many individuals are just not that confident when it comes down to replacing key parts of their firearm.
Replacing parts, especially the pistol grip of an AR-15 is an incredibly easy task, but caution and safety should always be advised and carried out when performing any of these modifying tasks in the comfort of your own home. So make sure young children are out of the way, and you have your safety glasses on standby and let’s get going.
In this article you will be learning how to carefully, successfully and safely install a Pistol Grip within your Lower Receiver. There are many different pistol grip’s openly and readily available on the market, and many of which typically fit all in the same way. So despite the brand that you have chosen, you should still be able to follow this guide successfully with no problems at all.
Depending on your brand of pistol grip you may discover that different brands offer numerous amounts of versatility such as being able to house a spare firing pin and bolt in the storage core, so make sure that any spare pins are kept safely in their place. Nevertheless, this can be great news if you are planning on building more than one AR and they each have versatile pistol grips which are capable of holding the core, as it means you can have a single spare firing bolt and pin and switch the core to the firearm you are running.
Parts you will need:
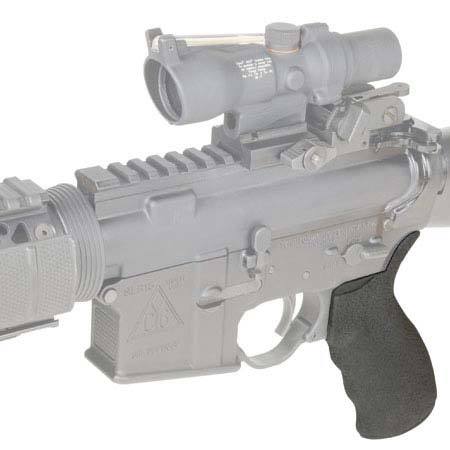
- Pistol Grip
- Pistol Grip Screw
Tools you will need:
- Bench Vise (recommended for stability)
- Large Flat Head Screwdriver (minimum of 3 1/2″ shaft)
- Safety glasses (caution for springs and safety detents)
- Lubrication (Tetra gun is recommended)
Assembly instructions:
- Firstly make sure that the safety should be in place.
- Lubricate the Safety Selector Detent.
- Push the lubricated Safety Selector Detent into the very small hole just next of the Pistol Grip Screw hole.
- Take your chosen Pistol Grip and insert the Safety Selector Spring securely into the hole on the top of your Pistol Grip (pointed side down).
- Place a suitable Gapper behind your AR’s trigger guard.
- Hold the spring securely with your finger before working the Pistol Grip into its correct position.
- Once in place securely screw in the Grip Screw into the lower bottom part of the Pistol Grip.
Function check:
- Perform a function check by placing the Safety Selector in to the safe position and manually cock the hammer back. Keep your thumb on it so that it does not accidentally get thrown forward.
- Squeeze the firearms trigger, making sure that the hammer does not release and that the safety is doing its job.
- Keep your thumb placed securely on the hammer and carefully rotate the Safety Selector to ‘fire’.
- When squeezing the trigger you should be able to feel the hammer release. Manually guide it forward while ensuring the trigger is still depressed.
- Direct the hammer to the rear and make sure that you can distinctly hear it engage with the disconnector.
- Allow the trigger to release while keeping your thumb placed on the Hammer. You should be able to see the hammer move forward slightly as it disengages from the AR’s disconnector and successfully engages the trigger sear.